
Search This Supplers Products:HOSEWASHING MACHINE HOSEWATER HEATER CONNECTORSSANITARY HOSEDISHWASHER HOSEICE MAKER HOSE
Washing Machine Hoses Selection, Care, and Installation
Washing Machine Hoses Selection, Care, and Installation
Water damage from a burst washing machine hose is one of the leading insurance claims in North America. I must admit that I am one of those statistics. I had a hose burst but was fortunate enough to be at home before the entire first floor of the house was full of water. I had to replace some drywall but count myself lucky. It is amazing how much water can pour out of a hose in a short amount of time.
Why Washing Machine Hoses Fail
age of the hose (over five years is cause for concern)
manufacturing defects in the hose
poor water quality creating deterioration inside the hose
installation error
Washing Machine Hose Inspection and Care
Most home insurance agencies recommend that washing machine hoses be inspected regularly and replaced every three to five years as part of a regular home maintenance program. Inspection points include:
Make sure that the hose connections - including the drain hose - are secure. They can become loose anytime a washer is moved or becomes severely off-balance.
Look for rust on the connectors and any cracks or bulges in the hoses
Any dampness indicates a small leak and replacement should happen immediately
There should be at least four inches between the water connection in the wall and the back of the washing machine. This space will help reduce the chances that a kink will eventually cause hose failure.
Take the time to jot down when you made your last inspection or replaced the hoses. You can attach the note to the back of the washer with a magnet.
Make sure that everyone in your household knows where the water shutoff valve is located and how to open and close it. You may want to consider having a professional plumber install a single-handled value to make turning off the water supply to the washer easier.
The plumber can also install a water hammer arrestor, which may lessen the chances of washing machine hoses breaking. The arrestor absorbs the increased water pressure that occurs when the electric valve in your washing machine shuts off.
Washing Machine Hose Selection
There are two basic types of hoses available - reinforced rubber and stainless-steel reinforced - which can be purchased in home improvement stores or online from amazon.com.
Rubber hoses have been around for decades but today's rubber hoses are reinforced with a braided rayon or polyester mesh to increase strength. If you select this type of hose (which is usually less expensive), be sure the label says "reinforced" for best quality.
Stainless steel braided hose is actually a very flexible plastic hose encased in a flexible mesh of stainless steel wire. This type of hose is more durable to physical damage (cutting and twisting) than rubber hoses. Many are labeled as burst-proof; however, no hose is completely failure-free.
Washing Machine Hose Installation
First and foremost, turn off the water supply. Then set your washer to start a cycle and turn it on for a few seconds. This will relieve the pressure in the hoses and prevent much of the spillage.
Keep a bucket and some old towels handy to catch any drips.
Unplug the washer and pull it away from the wall far enough that you can work or reach behind it. You will see three hoses - two water hoses for hot and cold water and the larger drain hose. If you disconnect the drain hose for more access, remember - it will have water in it so have a bucket ready!
Before disconnecting the water hoses, you may find it easier to cut them shorter at the connectors (have the bucket handy) rather than deal with the longer hoses. If there is rust on the connectors, you can spray them with WD-40 before attempting to unscrew the hoses. Allow the oil to work for ten or fifteen minutes. A pipe wrench or a pair of pliers is usually needed to break the seal of the connection and unthread the old hoses.
To install the new hoses, put a dab of plumber's silicone grease on the threads of the water faucet, the connector and on the hose's rubber washer.
Make sure the rubber washer is fully seated inside the hose connector. Thread the connector onto the faucet fully. Then, give it another turn with your pliers until strong resistance is felt. Complete all four connections; slowly turn on the hot and cold water and check for leaks. Retighten the connections if necessary.
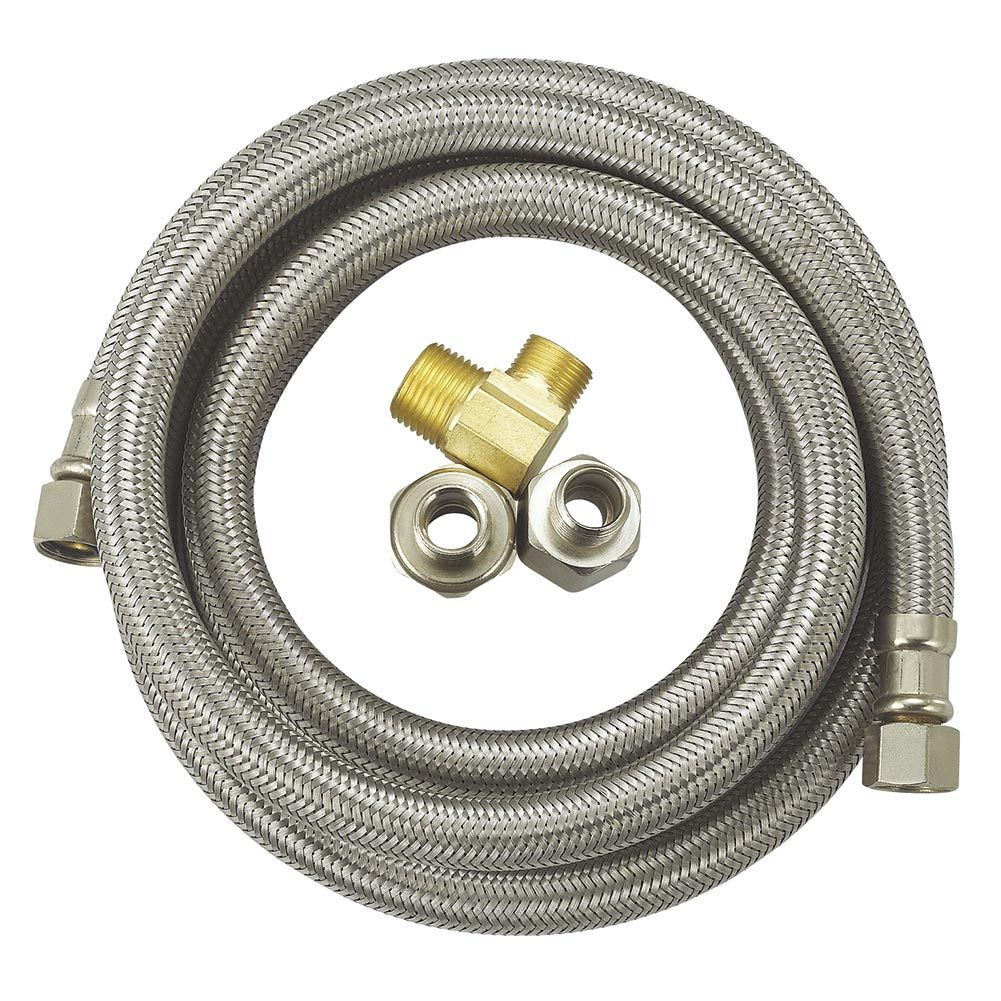
Do not twist the hose during installation and make sure it does not become kinked when the machine is pushed back to the wall. If your washer is in a tight space such as an shallow laundry closet, there are hoses available that have right-angle elbow connectors. They allow the washing machine to be placed closer to the wall without putting extra stress on the hose.