
Search This Supplers Products:HOSEWASHING MACHINE HOSEWATER HEATER CONNECTORSSANITARY HOSEDISHWASHER HOSEICE MAKER HOSE
How to Fix a Leaking Hose to an Ice Maker
How to Fix a Leaking Hose to an Ice Maker
A modern convenience people often overlook is the common refrigerator ice maker. The unit works tirelessly around the clock, diligently performing the task it was designed to do. When your ice maker line develops even the smallest leak, however, it can cause serious damage to your home if left unchecked. Over time, the leak can penetrate and swell hardwood flooring, ruin carpeting and even discolor tile grout. Heavy leaks can also damage drywall, baseboards and cabinetry. When the ice maker line starts to fail, given these circumstances, it is best to replace the line with a new one.
1.Unplug the refrigerator or turn off the appliance at the circuit breaker box.
2.Pull the refrigerator away from the wall and turn off the water supplying the ice maker. Most ice maker supply lines are attached to a shutoff valve or piercing valve located under the kitchen sink or behind the refrigerator.
3.Loosen the compression nut securing the supply line to the refrigerator's water intake valve. Use an adjustable wrench to turn the nut counterclockwise and then disconnect the supply line. The water intake valve can be found on the bottom corner of the appliance.
4.Remove the compression nut securing the supply line to the shutoff or piercing valve under the sink. Use the wrench to turn the nut counterclockwise to disconnect the supply line from the valve.
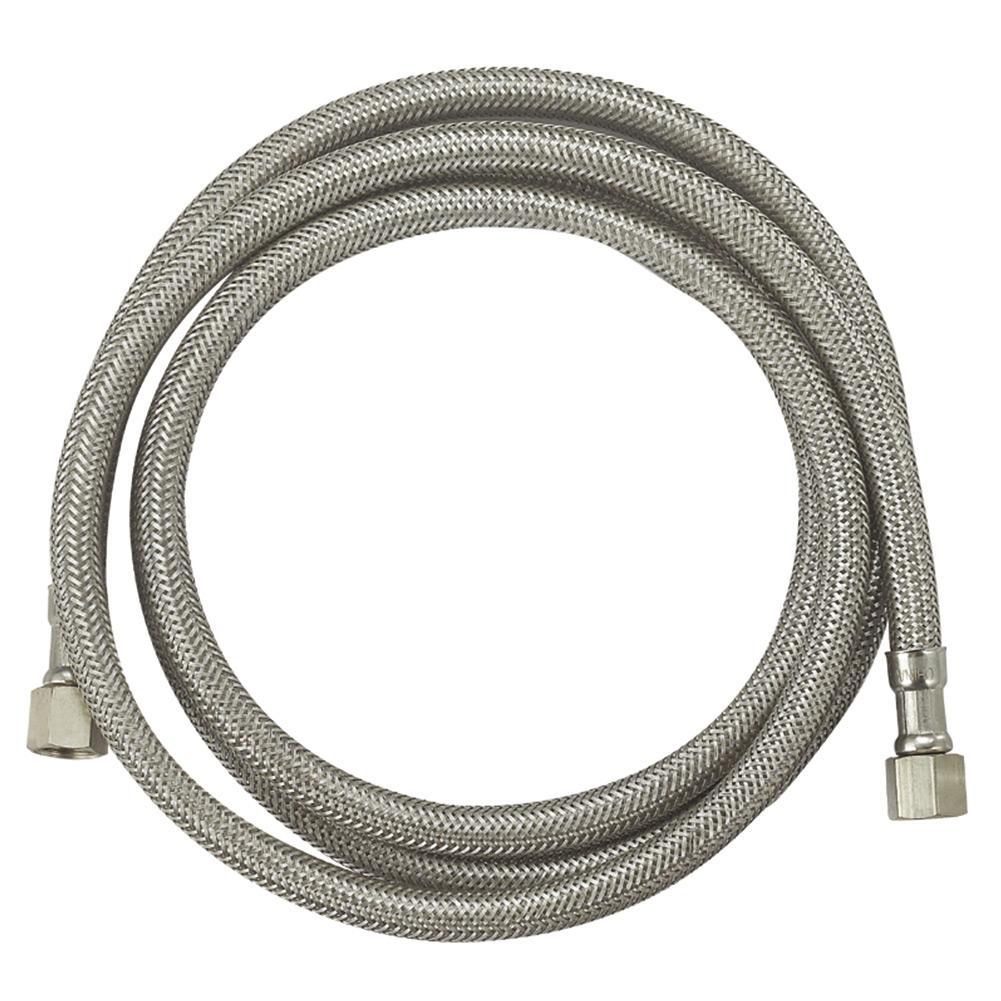
5.Purchase a new line in the applicable length at your local home improvement or appliance center. Take into consideration when purchasing the new supply line its durability. Plastic supply lines are the least expensive and the least durable. Copper supply lines provide greater durability but are prone to kinking. Stainless steel braided supply lines are the most durable and flexible but are also the most expensive.
6.Thread one end of the supply line clockwise to the shutoff or piercing valve under the sink and tighten until snug with the adjustable wrench. If you are using a plastic or copper line, you will have to first slide on a compression nut followed by a compression ring or sleeve onto the end of the line. When using stainless steel braided supply lines, a built-in rubber gasket prevents the connection from leaking.
7.Thread the other end of the supply line clockwise to the refrigerator's water intake valve and tighten it until snug using the adjustable wrench.
8.Turn on the water supplying the appliance and check for leaks. If a leak is present, tighten the nuts a quarter of a turn.
Tips
Use the adjustable pliers to hold the refrigerator's water intake valve when loosening the supply line to help avoid damaging it.
Use a vacuum to remove any dust from the back of and under the refrigerator.
Use newspaper to help identify leaks.
Warning
Use extreme caution when working with electrical appliances, especially when water is involved.